
Until I began weaving I didn’t appreciate how much of a transformation the cloth undergoes after the weaving ends. Wet finishing is a magical process that I enjoy every time. Watch what happens with this tweed scarf that’s entirely woven with my handspun yarn.
On the loom
The warp yarn (end to end) is stretched, and I deliberately beat the weft yarn (side to side) lightly to create an open weave with lots of scope for shrinkage. This yarn, like much of the yarn I create for weaving, hasn’t been washed and set after spinning, so it hasn’t shrunk at all yet.

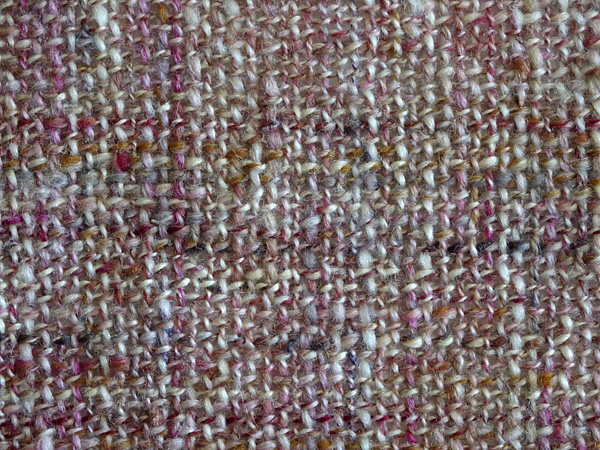
Off the loom
Now I’ve cut the scarf from the loom and it’s no longer under tension: notice how the yarns are distinct and you can still see through the weave.
Wet finishing
The next step is to wet finish the cloth. For these scarves, which are mostly wool with a little silk, I start by running a bowl of hot tap water with a small amount of wool wash and soaking the scarf for at least 15 minutes. Then I work the scarf vigorously in the water, squeezing and pummelling, just the opposite of how to hand wash a finished scarf! I lift it out often to see how the fabric is changing.
How long this takes depends on how fulled I want it to be. I’m looking for a change, from individual yarns that move separately, to a surface where all the yarn looks bedded together and the cloth moves as one. At that stage I rinse in cold water, then hot, agitating it more, and repeat as needed – watching the fabric carefully all the time. This is to shock and shrink the fibres further, just like fulling felt. You can always full it more if the finished cloth isn’t quite what you are aiming for, but you can never ‘unfull’ it, so it’s important to pay attention to what is happening or the fabric will get too solid and lose its drape.
Once the scarf has reached the texture I want, I stop fulling and place it into a bowl of lukewarm water with a splash of vinegar to neutralise any remaining wool wash. Then a final rinse at the same temperature, squeeze out the water gently, roll in a towel to absorb as much moisture as possible, and hang to dry at room temperature.
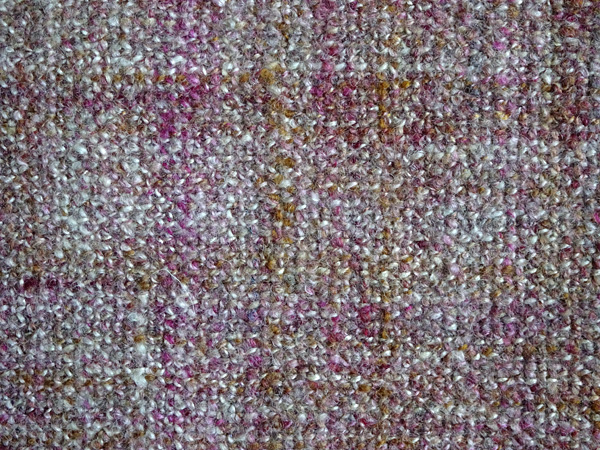
This is the cloth after wet finishing: see how the yarn has bloomed and shrunk, closing the gaps to form a textural, nubbly cloth. You can still see through it a little, but only if you hold it up to the light.
Ironing
Once the scarf is dry or almost dry, the final step is to iron it. This creates the lovely tweed surface, bringing out the sheen of any silk or lustrous wool I may have used. After this I can really say the scarf is ‘finished’. I use a steam iron on the hottest setting (with a pressing cloth to protect the woven fabric) and press as hard as I can all along the length; then turn it over and do a lighter press on the other side.

The result!
And the finished scarf is now ready to wear.


Very interesting to read this process. I have done enough weaving to understand but not enough to have mixed wool and silk together. The scarves are very lovely – I went to your easy site to check them out. Thank you for explaining how you make them.
Hi! I would love to try out weaving some scarfs for myself and friends and the loom you are making yours on in these photos seem quite managable. Could you inform me of the looms name/type? I love the wet-technique, that this scarf has been through. It looks so warm and cosy!
Best regards
Stine
Hi Stine, it’s an Ashford Knitter’s Loom, width 30cm. Ashford are in New Zealand but their looms are sold in many countries. https://www.ashford.co.nz/knitters-loom
Your scarf is beautiful and as a brand new weaver, I am so grateful to learn this finishing process! Thank you for the lovely tutorial